Back
Online Whiteboard Safe Area: Write Where Every Student Can See

In this article
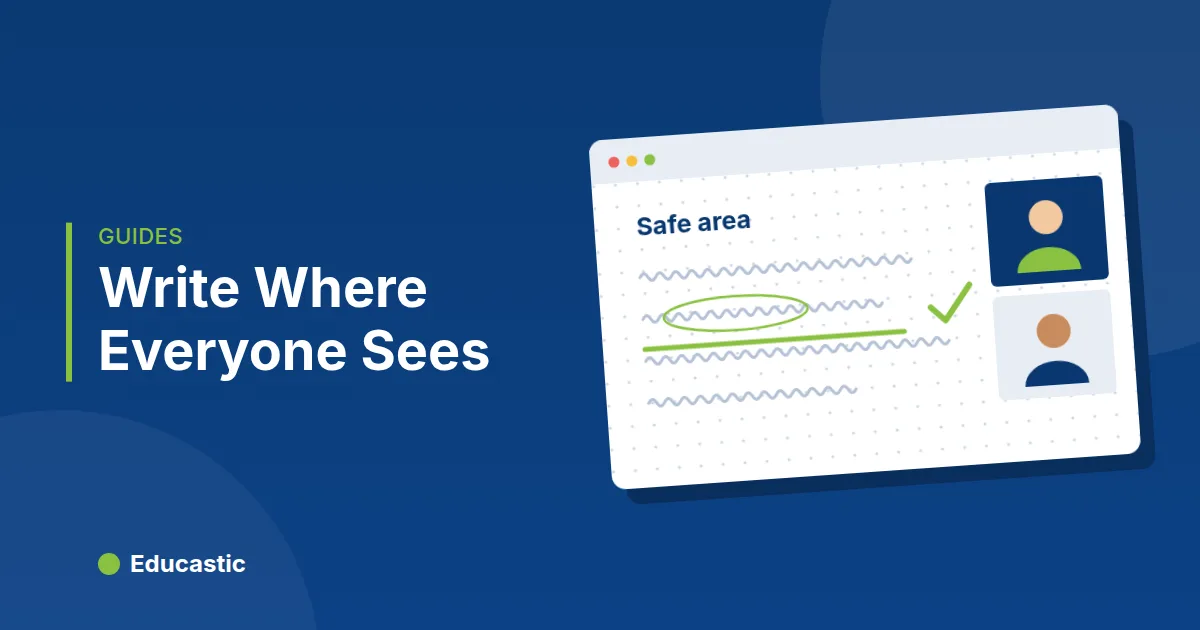
To make sure every student can see what you write on an online whiteboard, keep your writing inside the area the smallest screen in the class can show. In Educastic, turn on Show Safe Area in the whiteboard Settings and a dashed outline marks that area on your board. Only you see it.
Every online teacher meets this problem sooner or later. You write the last step of an equation on the right side of your wide monitor, and a student on a small laptop says "I can't see the end." Their window is smaller, so the edge of your board is off their screen. You only find out when someone tells you.
This guide explains what the safe area is, how to turn it on, and how to use it in real lessons.
What is the safe area on an online whiteboard?
The safe area is the part of the board that every student in the session can see on their own screen. Educastic works it out from each student's screen and the bars that cover the edges of their board. It then shows you the overlap: the space that is visible to everyone at once.
The outline is a dashed light gray line on your board. It is a guide for you, not a frame for the class:
- Students never see it.
- It does not stop you drawing outside it.
- It is not part of the board, so it is not saved with your work.
How do you turn on the safe area in Educastic?
Show Safe Area is off by default. Turn it on once and it stays on for all your sessions until you turn it off.
- Open a session on the Educastic whiteboard as the teacher.
- Click the settings icon on the right-hand rail (its tooltip reads Educast Setting).
- In the Settings window, turn on Show Safe Area.
- Click Save. The outline appears straight away once a student has joined, with no reload.
To hide it again, open the same window, turn the switch off and save.
What does the outline show during a class?
The outline shows the part of your board that the student with the least room can see. That is often the student on the smallest laptop, but a student who has zoomed in also sees less of the board.
| What happens | What the outline does |
|---|---|
| A student joins on a smaller screen | It shrinks to what that student can see |
| You zoom out or pan the board | It moves with your view straight away |
| A student resizes their window | It updates after about a second, so it does not jump around |
| Every student can see your whole board | It disappears, because nothing is cut off |
The outline also accounts for what covers each student's board, such as the header and the side bars. It marks space students can actually read, not their whole window.
How do you use the safe area when teaching?
Plan your writing inside the outline, and use the space outside it for things only you need.
- Worked examples. Start each new problem at the top-left inside the outline and work downward. When you reach the bottom edge, pan the board up instead of squeezing the last lines into the margin.
- Uploaded worksheets. If a PDF page is wider than the outline, pan the board so the question you are discussing sits inside it, as in annotating a PDF in an online class. Zooming out on your side does not help, because zoom is personal. Students can zoom out on their own screens, and the outline grows to match.
- Teacher notes. Space outside the outline is a good place for reminders, the answer you want to reveal later, or a list of students to call on. Keep in mind that students on bigger screens may still see it.
- Mixed devices. In a class with tablets and wide monitors, check the outline at the start of the lesson. If it is much smaller than your board, keep your handwriting larger and use fewer columns.
What are the limits of the safe area?
The safe area is a teaching aid, so it is useful to know what it does not do:
- Only the teacher sees it. Students do not have the switch and never see the outline.
- It does not change students' screens. It does not zoom or move anyone's view. It shows where the shared visible space is.
- It is one outline for the whole class, not one per student.
- It is not shown when you teach from a phone or an Android tablet. Those screens are usually among the smallest in the class anyway.
- It is not available in Sinkronos Whiteboard for Google Meet, where every participant's window changes with the Meet layout. To use it, run the lesson as a full Educastic session.
To get around the rest of a big board, see the guide to the whiteboard minimap, zoom and navigation.
Frequently asked questions
Can students see the safe area outline?
No. The dashed outline appears only on the teacher's board.
Is the safe area on by default?
No. Show Safe Area is off until you turn it on in the whiteboard Settings, and then it stays on for your later sessions.
Can I still draw outside the safe area?
Yes. The outline is only a guide. Anything outside it is still on the board, but some students may need to pan or zoom out to see it.
Why did the outline disappear?
Every student in the session can see all of the board you see, so there is nothing to mark. It also disappears when no student has joined yet.
Does the safe area work in the Google Meet add-on?
No. It is available in full Educastic sessions, not in Sinkronos Whiteboard for Google Meet.
Try it in your next lesson
Open the Educastic online whiteboard, turn on Show Safe Area in Settings, and invite a student on a laptop to see the outline in action.